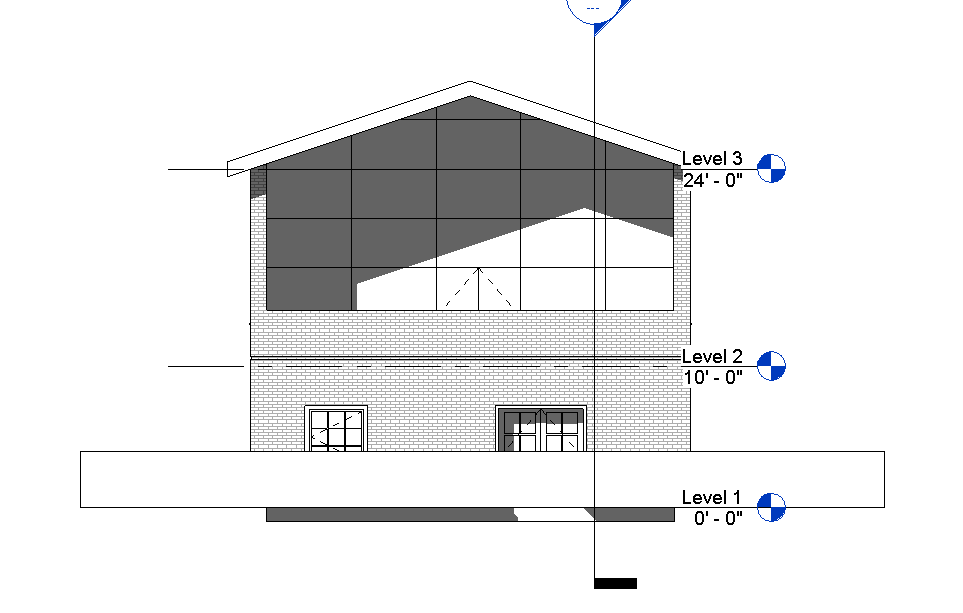
 section with shadow  Sun study time lapse 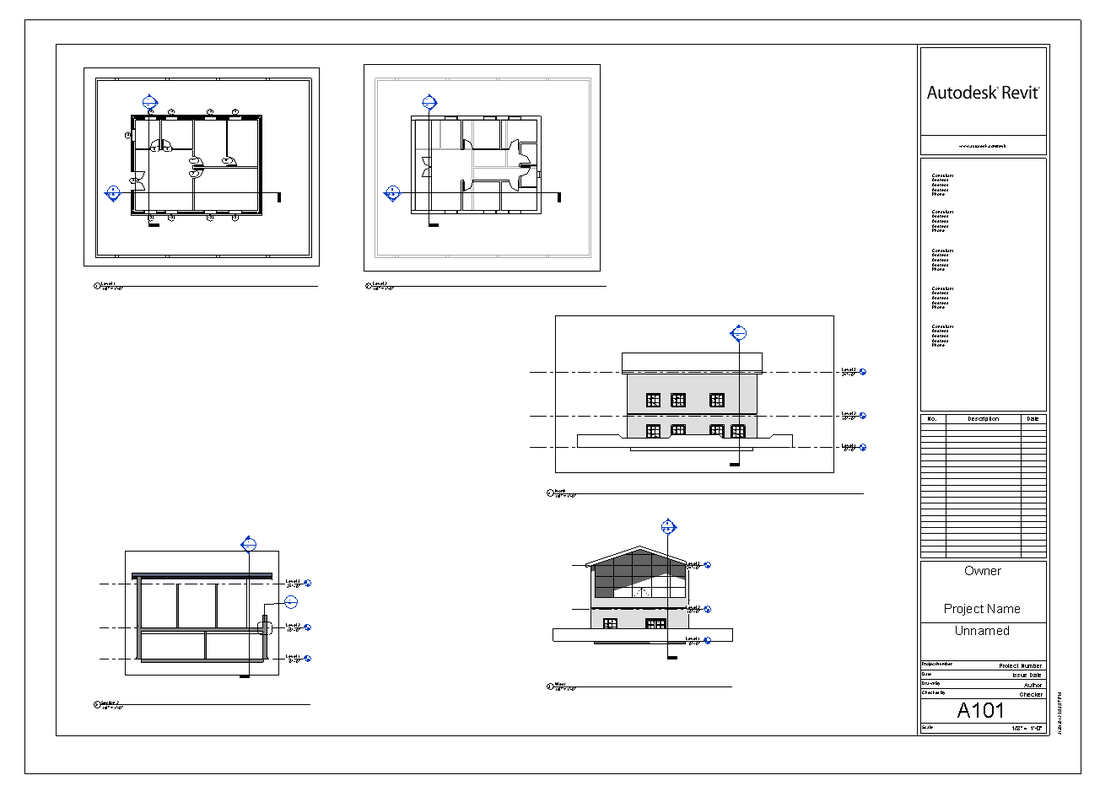 Sheet with multiple views | The reading spoke a lot about 'Views' and their properties (such as detail level and underlay). There are five sub-exercises within Unit 5. - Exercise 5A explored more with section views and detail callouts. I also learned how to create a sheet with multiple views and how to add shadows to a view (see pictures). - In Exercise 5B, I duplicated the roof type in order to create a new type. Then I assigned different materials to the layer components of the roof. It's becoming easier to maneuver the type properties. Finally I learned the difference between a model pattern (which fits to the model) and a drafting pattern (that changes according to the scale of the model). - Exercise 5C was about wall cleanup and display. I used the 'visibility/graphics overrides menu' to change the thickness and color of walls and wall components, both globally and within a specific view. I also learned how to change wall joints. While this exercise seemed very architectural based, it is very useful to know where the edits are located and how they operate. - Exercise 5D, was a bit tricky due to the fact that the sun settings, tools and windows have changed since the workbook was written. Took some searching but finally figured out sun and shadow options are located under the graphic display options. I really like that you can replicate sun movement for different cities and times of the year. This is a very useful tool and one I will continue to use. The exercise showed how to export the sun study to an AVI file (screen shot below). - Finally Exercise 5E showed me how to import a model created in Revit to 3ds Max. While this was a great introduction, I am thankful AutoDesk also has a curriculum focused on just 3ds Max visualization. I plan to work more with 3ds Max in the future. |
0 Comments
Leave a Reply. | Current ProjectsThis spring, I have begun expanding my computer program knowledge to include Google SketchUp and Revit. I plan to post my progress as I explore these design programs further. ArchivesAugust 2012 Categories |
 RSS Feed